
Crispy Shredded Potato Pancakes Recipe (香脆土豆丝煎饼)
-

RATINGS
Not rated yet
-

COOK TIME
Prep 10m • Cook 12m
-

VIEWS
639
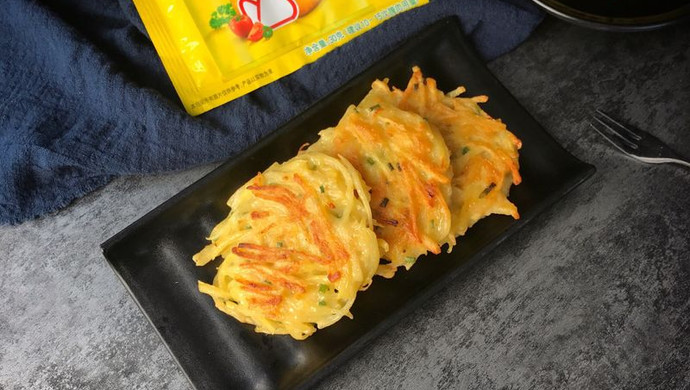
These are the kind of potato pancakes you can throw together when there’s not much in the fridge but you still want something warm and a little crispy. Just grate potatoes, mix in egg, a bit of flour, some chopped green onions and salt, then pan-fry them in a thin layer of oil. They don’t hold together like latkes—they’re looser, more rustic—but that’s part of the charm. Best eaten right off the stove, maybe with a spoonful of plain yogurt or a dash of hot sauce if you’ve got it.

Ingredients
-
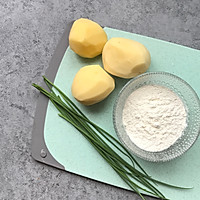
400 g potatoes
about 3 small or 2 medium, peeled
-
45 g all-purpose flour
about ¼ cup + 1 tsp
-
3 green onions
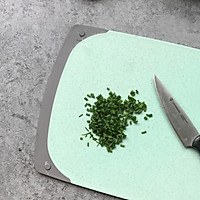
finely chopped (use both white and green parts)
-
½ tsp fine sea salt
about 2.5 g
-
2 tbsp neutral cooking oil
e.g., canola, sunflower, or avocado oil, divided
-
1 large egg

Instructions
-
Step 1: Shred the potatoes and remove excess moisture
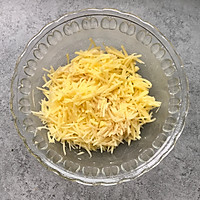
Peel the potatoes and shred them using the medium holes of a box grater (not too fine, not too thick). Place the shreds in a clean kitchen towel or several layers of paper towels, sprinkle with a pinch of salt, wait 2 minutes, then squeeze firmly over the sink to remove as much liquid as possible. This step helps the pancakes hold together and crisp up better.
-
Step 2: Mix the batter just until combined
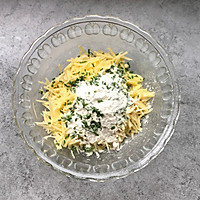
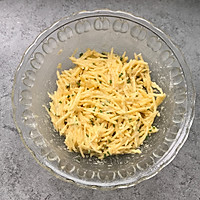
In a medium bowl, combine the squeezed potato shreds, chopped green onions, egg, flour, and ½ tsp salt. Add 1 tbsp of the cooking oil. Stir gently with a fork or chopsticks until everything is evenly coated—don’t overmix. Let the mixture sit for 3–5 minutes so the flour absorbs any remaining moisture. If it looks too dry to hold shape, add 1 tsp water; if too wet, sprinkle in 1 tsp more flour.
-
Step 3: Preheat the pan with a light layer of oil
Heat a large nonstick or cast-iron skillet over medium-low heat. Add ½ tbsp oil and swirl to coat the surface evenly. To test if it’s ready, drop a small spoonful of batter—it should sizzle gently and set within 10 seconds without browning instantly.
-
Step 4: Shape and cook the pancakes in batches
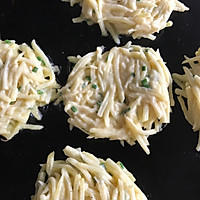
Scoop about ⅓ cup of batter per pancake. Gently press it into a round about 10 cm (4 inches) wide and 1 cm thick directly in the pan. Make 2–3 at a time, leaving space between them. Cook for 4–5 minutes, pressing down lightly once or twice with a spatula, until the edges look dry and the bottom is golden brown.
-
Step 5: Flip once and finish cooking through
Carefully flip each pancake with a thin spatula. Add the remaining ½ tbsp oil to the pan if it looks dry. Cook the second side for 3–4 minutes, until golden and cooked through. To check doneness, insert a toothpick or skewer—if it slides in easily with no raw potato sticking, it’s ready.
Transfer to a wire rack or paper-towel-lined plate. Serve warm.


Chef’s Notes
-
Don’t skip squeezing the potatoes. Wet shreds = soggy pancakes. The drier they are, the crispier the result.
-
Use a nonstick or well-seasoned pan. These pancakes are delicate when raw and can stick easily in uncoated stainless steel.
-
Make it gluten-free? Swap all-purpose flour for rice flour or cornstarch (use 30 g instead of 45 g). The texture will be slightly less cohesive but still tasty.