
Sichuan Green Pepper Pork Stir-Fry Recipe (川味青椒炒肉)
-

RATINGS
Not rated yet
-

COOK TIME
Prep 15m • Cook 20m
-

VIEWS
266
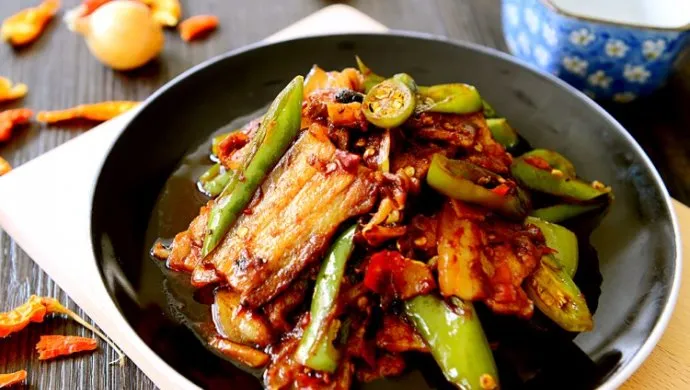
I often make this with leftover boiled pork belly—it’s quick and flavorful. The meat renders a little fat, the green peppers get slightly blistered, and the combo of doubanjiang and sweet bean sauce gives a savory-salty base with a hint of spice and sweetness. It’s deeply satisfying with rice. Contrary to what some think, using pre-cooked pork actually makes it easier: no risk of overcooking tough raw meat. The trick is frying the bean paste until red oil appears, and keeping the peppers just tender-crisp. Ready in under 30 minutes, it’s my go-to when I’ve got leftover pork and need a simple, hearty stir-fry.

Ingredients
-
250g cooked pork belly, thinly sliced
-
5 medium green bell peppers (or mild chilies), cut into chunks
-
3 slices ginger (about 10g), julienned
-
2 cloves garlic, thinly sliced
-
15g (1 tbsp) Pixian broad bean paste (Doubanjiang)
Can’t find it? Try this one. -
10g (2 tsp) sweet bean sauce (or hoisin sauce)
Can’t find it? Try this one. -
3g (½ tsp) sugar
-
15ml (1 tbsp) cooking wine (Shaoxing or dry sherry)
Can’t find it? Try this one. -
15ml (1 tbsp) light soy sauce
Can’t find it? Try this one. -
30ml (2 tbsp) water or broth
-
1 tsp vegetable oil
-
(Optional) 5 fermented black beans, rinsed & chopped

Instructions
-
Step 1: Slice the cooked pork and cut the peppers
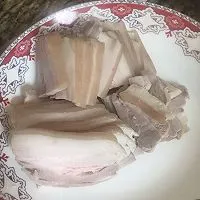
If you’re using leftover boiled pork belly, just slice it thinly. Remove seeds from the green peppers and break or cut them into large, bite-sized pieces—no need to be perfect; this is home cooking, not fine dining.
-
Step 2: Fry the pork briefly to render some fat
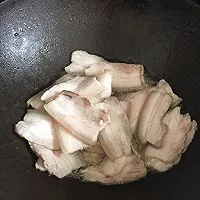
Heat your wok over medium heat. Add just a teaspoon of oil (the pork will release its own fat). Add the slices and fry gently for 3–4 minutes until the edges curl and get lightly browned. Transfer to a plate.
-
Step 3: Use the residual oil to fry ginger and garlic
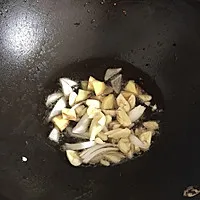
Don’t wash the pan. Just add julienned ginger and sliced garlic to the residual oil. Stir-fry over low heat for about 30 seconds until fragrant—but stop before the garlic browns.
-
Step 4: Add doubanjiang and sweet bean sauce, fry until red oil appears
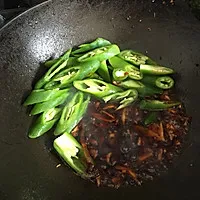
Add Pixian bean paste and sweet bean sauce. Stir-fry 1 minute to release red oil. Add sugar, cooking wine, soy sauce, water, and optional black beans. Mix well. Add green peppers. Stir-fry over medium heat 3–4 minutes until peppers soften slightly.
-
Step 5: Return the pork and mix everything together
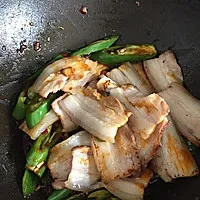
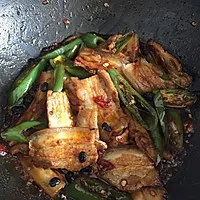
Return the pork to the pan. Stir everything together and cook for another 1–2 minutes until heated through and well coated. Taste—it’s usually salty enough from the sauces, so extra salt is rarely needed.
-
Step 6: Serve hot with steamed rice
Plate immediately. This dish tastes best piping hot—once it cools, the peppers release moisture and the flavor dulls. Nothing beats it with a bowl of fresh steamed rice.


Chef’s Notes
-
Use pre-cooked pork to save time – boiled, roasted, or even high-quality bacon works.
-
Control the heat – keep medium heat to avoid burning the bean paste.
-
Mild version – use green bell peppers instead of spicy chilies.