
Stir-Fried Chicken with Sweet Bean Sauce Recipe (酱爆鸡丁)
-

RATINGS
Not rated yet
-

COOK TIME
Prep 15m • Cook 15m
-

VIEWS
277
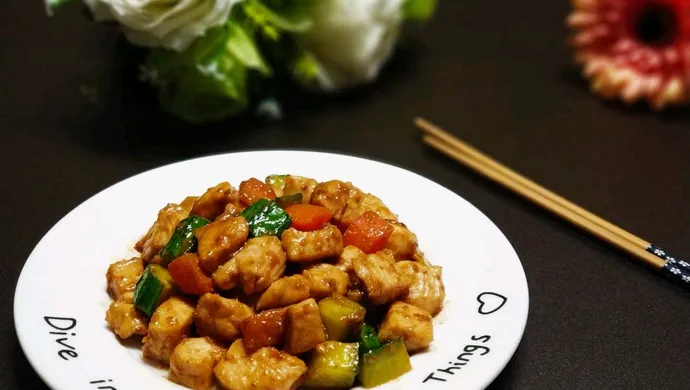
Stir-Fried Chicken with Sweet Bean Sauce is a staple of Beijing-style home cooking, known for its deep umami flavor and satisfying balance of textures. Bite-sized chicken is briefly marinated and gently cooked to stay tender, then combined with crunchy cucumber and lightly softened carrot. The dish is finished with a glossy, aromatic sauce built from sweet bean paste and yellow soybean paste—earthy, slightly sweet, and full-bodied. Served hot over rice, it’s a complete meal that’s both hearty and bright.

Ingredients
-
Boneless, skinless chicken breast
300 g (10.5 oz)
-
Cucumber (seeded if large)
½ cup diced (≈75 g)
-
Carrot
½ cup diced (≈75 g)
-
Ginger
1 tsp finely minced
-
Garlic
2 cloves, minced
-
Neutral oil (e.g., canola or vegetable)
2 tbsp (30 ml)
-
Salt
¼ tsp
-
White pepper
⅛ tsp
-
Cornstarch
1 tsp (4 g)
-
Granulated sugar
½ tsp (2 g)
-
Water
2 tbsp (30 ml)

Instructions
-
Step 1: Marinate Chicken Lightly
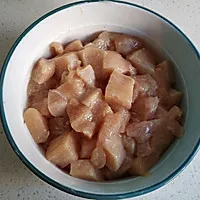
Cut chicken into 1.5 cm (½ inch) cubes. In a bowl, mix with ¼ tsp salt, 1 tbsp Shaoxing wine, ⅛ tsp white pepper, and 1 tsp cornstarch. Stir well and let sit for 10 minutes.
-
Step 2: Chop Veggies to Match
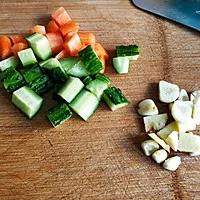
Dice cucumber and carrot into pieces similar in size to the chicken. Mince ginger and garlic. Set aside.
-
Step 3: Mix the Bean Sauce Blend
In a small bowl, combine 25 g sweet bean sauce, 15 g yellow soybean paste, ½ tsp sugar, and 2 tbsp water. Stir until smooth.
-
Step 4: Sear Chicken Just Until Cooked
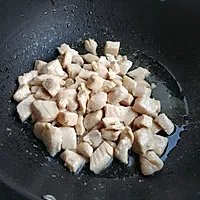
Heat 1 tbsp oil in a large skillet or wok over medium heat. Add the marinated chicken and stir gently for 2–3 minutes until just opaque. Do not brown. Transfer to a plate.
-
Step 5: Quick-Fry the Carrot
In the same pan, add a little more oil if dry. Add carrot and stir-fry for 1 minute until slightly softened. Remove and set aside with the chicken.
-
Step 6: Fragrant Aromatics, Then Thicken Sauce
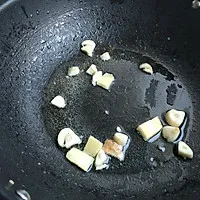
Reduce heat to medium. Add ginger and garlic; stir 20 seconds until fragrant. Pour in the sauce mixture. Cook, stirring constantly, for 1–2 minutes until thickened and glossy.
-
Step 7: Toss Everything Together Fast
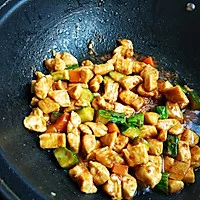
Return the chicken and carrot to the pan. Add cucumber. Increase heat to high and stir-fry for 30–45 seconds until everything is evenly coated and heated through. The cucumber should remain crisp.
-
Step 8: Serve Hot Right Away
Transfer immediately to a serving plate. Best served hot with steamed rice.





Chef’s Notes
-
Keep chicken tender: The cornstarch in the marinade creates a light protective layer. Avoid high heat during initial cooking to prevent drying out.
-
Cucumber prep: Use seedless (English) cucumber if possible. If using regular cucumber, scoop out the seeds before dicing to avoid excess moisture.
-
Balance the meal: The sauce is rich and salty—plain steamed rice helps round out the flavors.