
Pan Fried Tofu with Soy Garlic Glaze Recipe (香煎豆腐)
-

RATINGS
Not rated yet
-

COOK TIME
Prep 15m • Cook 10m
-

VIEWS
581
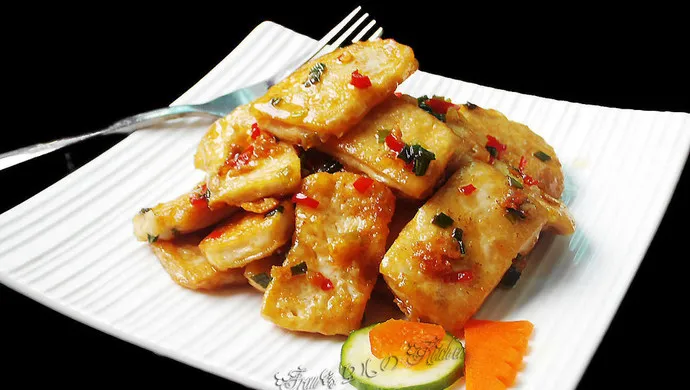
This is my weeknight go-to when I want something fast, satisfying, and packed with texture. The tofu gets crisp on the outside but stays tender inside, then it’s tossed in a simple savory glaze with garlic, scallions, and just a hint of heat from one fresh chili. I’ve made this dozens of times—it’s forgiving, needs no fancy tools, and always feels like a proper meal when served over steamed rice or alongside stir-fried greens. It’s not “fake meat” or overly saucy; it’s honest, clean-tasting, and lets the tofu shine.

Ingredients
-
Firm tofu
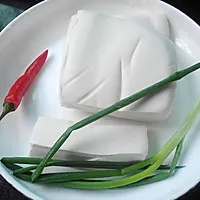
200g (7 oz), labeled “water-packed” or “regular” (not silken)
-
Water
500 ml (about 2 cups)
-
Salt
½ teaspoon (for soaking) + ¼ teaspoon (for seasoning)
-
Neutral oil
like canola or vegetable oil, 2 tablespoons
-
Garlic
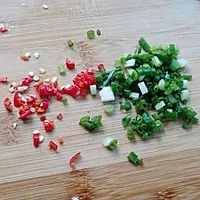
2 cloves, finely minced
-
Green onion
1 stalk, thinly sliced
-
Fresh red chili
like Thai bird’s eye or jalapeño, 1 small, finely chopped (seeds removed for milder heat)
-
Oyster sauce
½ tablespoon (optional: for vegetarian version, use mushroom-flavored stir-fry sauce or skip)
Can’t find it? Try this one. -
Chicken-style seasoning or white pepper
⅛ teaspoon (optional, for depth; omit if preferred)
Can’t find it? Try this one.

Instructions
-
Step 1: Soak the tofu to firm it up
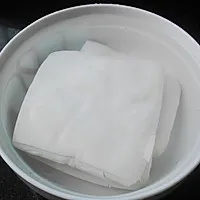
Dissolve ½ teaspoon of salt in 500 ml of water. Submerge the whole block of tofu (or cut pieces) in the salted water and let it sit for 10 minutes. This helps reduce breakage during frying and removes any raw bean taste. Drain well and pat dry with paper towels.
-
Step 2: Slice and dry thoroughly
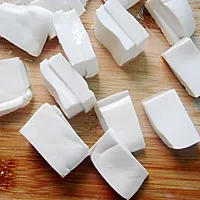
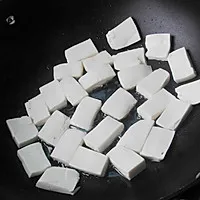
Cut the tofu into 1 cm (½ inch) thick slices. Lay them flat on a clean towel or paper towels and press gently to remove surface moisture—dry tofu = better browning.
-
Step 3: Pan-fry until golden on both sides
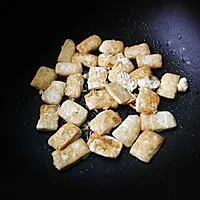
Heat 1½ tablespoons of oil in a non-stick or cast-iron skillet over medium heat. Once hot, add the tofu in a single layer (work in batches if needed). Fry undisturbed for 3–4 minutes per side, until deeply golden and crisp. Transfer to a plate.
-
Step 4: Sauté aromatics in the same pan
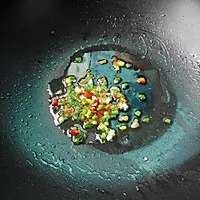
Add the remaining ½ tablespoon of oil to the same skillet. Add garlic, chopped chili, and green onions. Stir over medium heat for 30–60 seconds until fragrant but not burnt.
-
Step 5: Toss tofu in a light savory glaze
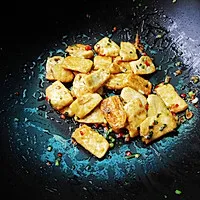
Return the fried tofu to the pan. Drizzle with soy sauce, oyster sauce (if using), and the remaining ¼ teaspoon of salt. Gently toss or flip with a spatula to coat evenly—about 1 minute. Taste and adjust if needed (e.g., a few drops of rice vinegar for brightness).
-
Step 6: Serve immediately while crisp
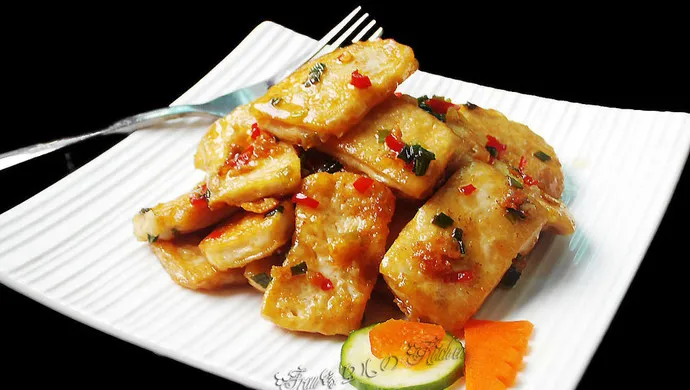
Plate right away—the longer it sits, the softer the crust gets. Great on its own, over rice, or with steamed bok choy.

Chef’s Notes
-
Don’t skip drying the tofu: Wet tofu steams instead of fries. Patience here pays off in crispness.
-
Make it gluten-free: Swap regular soy sauce for tamari or certified GF soy sauce.
-
No oyster sauce? Just use an extra ½ teaspoon of soy sauce and a pinch of sugar for balance.
-
Extra crunch: For more texture, sprinkle toasted sesame seeds before serving.